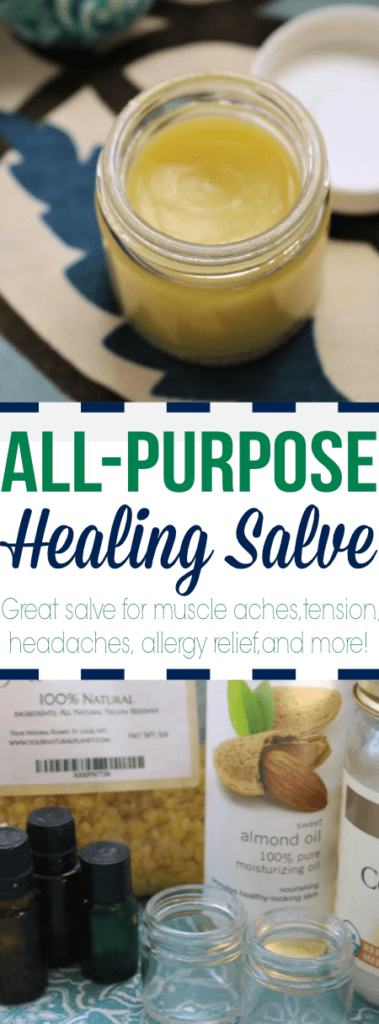
Homemade All-Purpose Healing Salve
As much as possible I try to utilize natural ingredients for ailments for our family. You will find several recipes we share include essential oils because they are easily accessible and one of my favorite ways to incorporate natural ingredients! In fact, you probably have many of the ingredients to make…
As much as possible I try to utilize natural ingredients for ailments for our family. You will find several recipes we share include essential oils because they are easily accessible and one of my favorite ways to incorporate natural ingredients! In fact, you probably have many of the ingredients to make this salve if you made our homemade lip balm recipe!
I tend to grab essential oils to use alone, or add into recipes. But, this all-purpose, all-natural healing salve recipe works so much better than stand-alone oils. Use it for muscle aches, tension, headaches, allergy relief and other ailments.
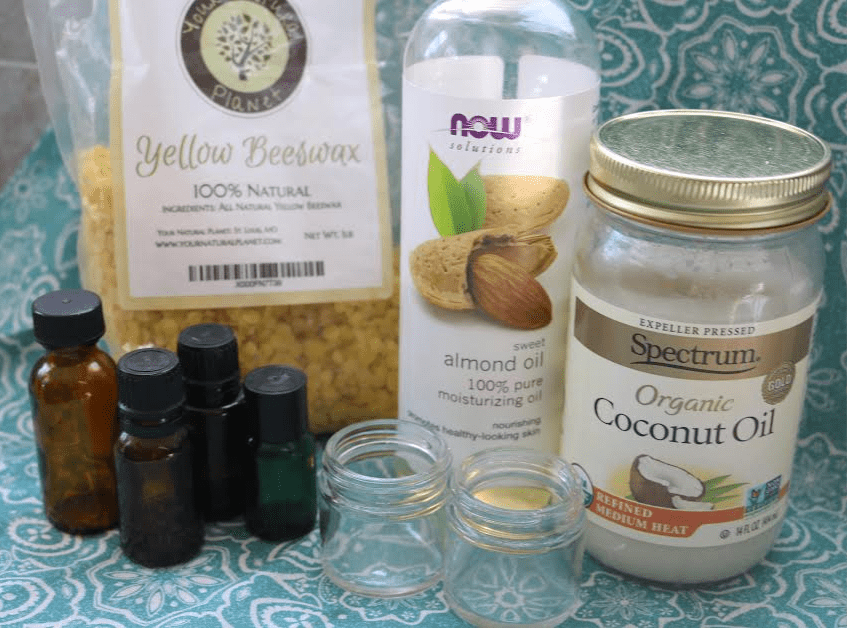
All-Purpose Healing Salve Ingredients
- 1.5 oz, Beeswax
- 2 TBS, Unrefined Coconut Oil
- 2 tsp, Sweet Almond Oil
- 20 drops, Frankincense Essential Oil
- 18 drops, LavenderEssential Oil
- 18 drops, MarjoramEssential Oil
- 15 drops, PeppermintEssential Oil
- Small Glass Containers (similar to these on Amazon)
All-Purpose Healing Salve Directions
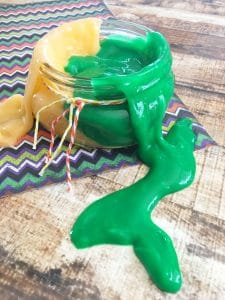
- Melt your beeswax in a double boiler over medium heat. If you don’t have a double boiler, you can always melt the beeswax in a tin can inside a sauce pan.
- Once the beeswax starts to boil, put the burner on a low setting and leave it there. Stir once or twice in the process until the beeswax is fully melted into a nice, smooth liquid. The melting time will vary depending on which type of beeswax you’re using. The brick type takes longer.
- Stir the coconut oil into the beeswax until fully melted.
- Finally, add the sweet almond oil the essential oils.
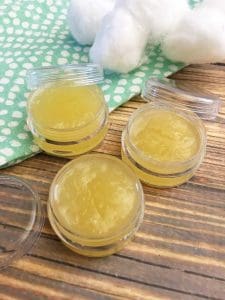
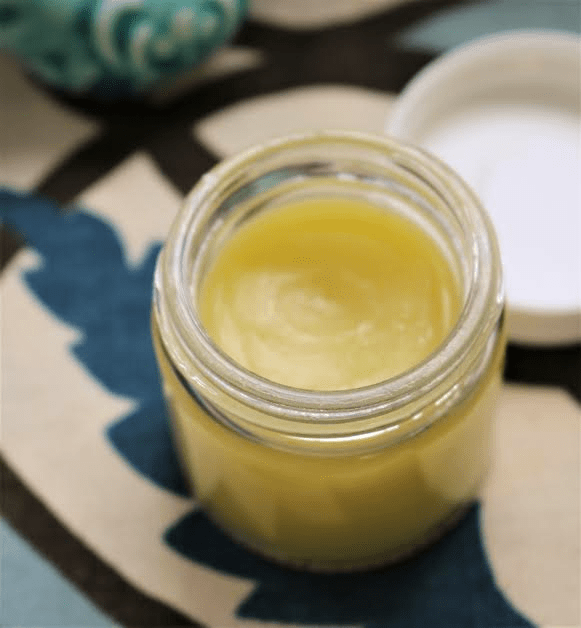
- Now you’re ready to fill the glass jars. Keep the water on the lowest setting to keep the wax warm while you fill up the containers.
- Fill the containers almost to the top and if the wax gets thickened as you are pouring, just replace it over the heat again for a minute and it will melt fast.
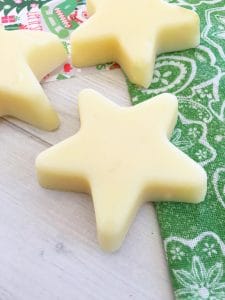
- Leave the salves to cool at room temperature for around 30 to 45 minutes.
- To be sure they are all cooled, feel the bottom center of the containers to see if it is totally cool and if so, they are all done.
Now, apply any lids and labels to the jars and you are ready to go! Rub the salve directly on the area that is hurting for best results.
Find MORE Personal Care Recipes HERE

Use our long handle measuring spoons to measure and stir this recipe.