utensi.com ™ - functional and beautiful handcrafted utensils

  • Home
  • Shop
  • Warranty
  • About
  • Blog
  • Contact
  • CART

Nutella Stuffed Peanut Butter Cookies

September 19, 2016 By Andrea @ utensi Leave a Comment

Nutella Stuffed Peanut Butter Cookies

I’m sorry in advance for this recipe. They are good. Yes, super delicious! I mean, what can be better than Nutella and peanut butter?! Nothing is better. Plain and simple.

Nutella Stuffed Peanut Butter Cookies Ingredients

  • 1 1/2 cups, All Purpose Flour
  • 1 tsp, Baking Soda
  • 1/4 tsp, Salt
  • 1/2 cup, Butter (softened)
  • 3/4 cup, Brown Sugar
  • 1/4 cup, White Sugar
  • 1 tsp, Vanilla Extract
  • 1 Egg
  • 1 cup, Peanut Butter (creamy)
  • 1 cup, Nutella

Nutella Stuffed Peanut Butter Cookies Directions

  1. Line a baking sheet with parchment paper.
  2. Place 1/2 tablespoon sized dollops of the Nutella on the parchment paper. Use a knife or the back of a spoon to spread them out into circles.
  3. Freeze your dollops of Nutella for about 1 hour.
  4. Preheat your oven to 350° and line a baking sheet with parchment paper.
  5. In a large mixing bowl, mix together your softened butter, peanut butter, vanilla, and egg until creamy.
  6. Now mix in your sugars.
  7. Then mix in your flour, baking soda, and salt until you have a thick dough.
  8. Use a large ice cream scoop to scoop out your dough into golf ball sized balls.
  9. Press your dough down, peel off a frozen piece of your Nutella, and place it in the center.
  10. Fold your dough around the Nutella and roll back into a ball.
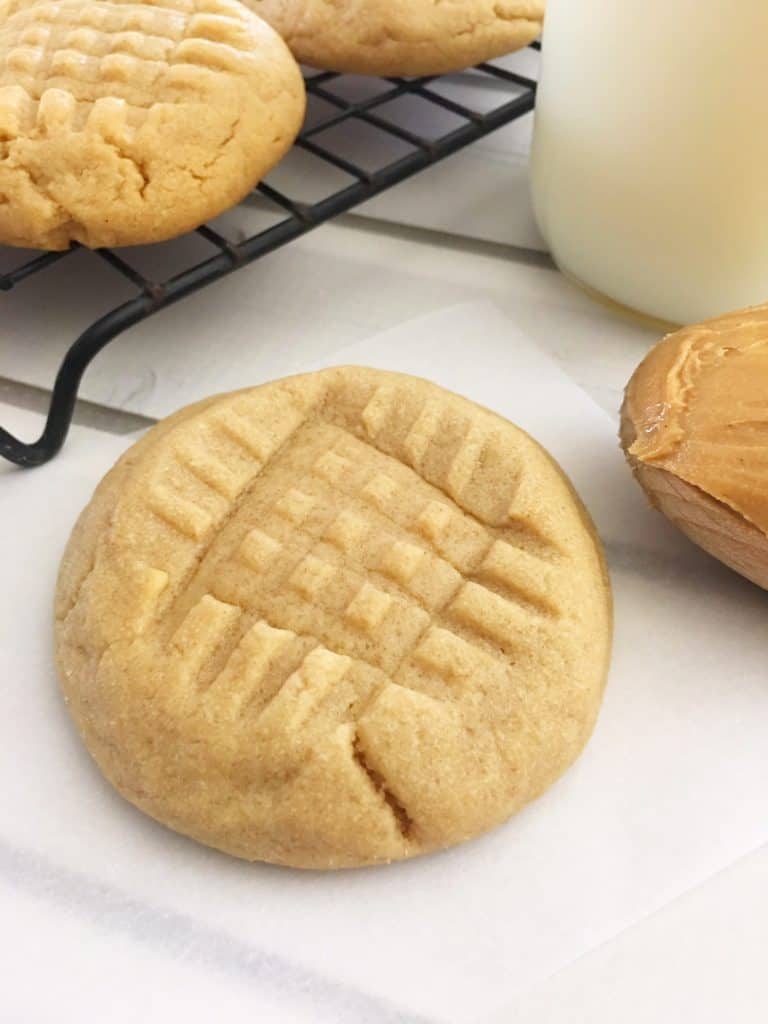
  11. Use the back of a fork to make a criss cross mark on each cookie ball.
  12. Bake for 10-12 minutes, cool, and enjoy.

One thing I see a lot of people skip with baking recipes is using the parchment paper. You definitely want to use parchment paper as it will create a better cookie texture. So, so good!

wooden measuring spoons long handles utensi

Use our long handle measuring spoons to measure this recipe.

Filed Under: Recipes Tagged With: Cookie Recipes, Snack Recipes

Homemade Slime Recipe

September 12, 2016 By Andrea @ utensi Leave a Comment

Homemade Slime Recipe

Slime, slimey slimey. This stuff is so fun to make with the kids! You can make your own colors for festive seasons. It is a great craft to make for a school party too.

Homemade Slime Ingredients

  • 4 oz Bottle, White Liquid Craft Glue
  • 1 1/2 cups, Warm Water
  • 1 TBS, Borax
  • Gel Food Coloring (any colors you like)

Homemade Slime Directions

  1. Pour your glue into a glass mixing bowl.
  2. Now add in 1/2 cup of your warm water and mix well.
  3. Mix your borax in with 1 cup of warm water in a separate cup/bowl until mostly dissolved.
  4. Divide your glue mix into two separate bowls if you want two different colors.
  5. Add a drop of food coloring to each and mix well.
  6. Now pour 1/2 cup of your borax water into each bowl (discard the borax that didn’t fully dissolve) and mix well with a Popsicle stick or plastic fork.
  7. Pour the remaining water out and work together with your hands.
  8. Store in a mason jar.

You will definitely want to supervise the kiddos while they are playing with this. It may look fun to eat but it should NOT be ingested. It also is a bear to get out of carpet. Unfortunately, I know that first hand… 🙂

wooden measuring spoons long handles utensi

Use our long handle measuring spoons to measure this recipe.

Filed Under: Crafts Tagged With: Kid Friendly Crafts, Seasonal Crafts

DIY Body Wash

September 6, 2016 By Andrea @ utensi Leave a Comment

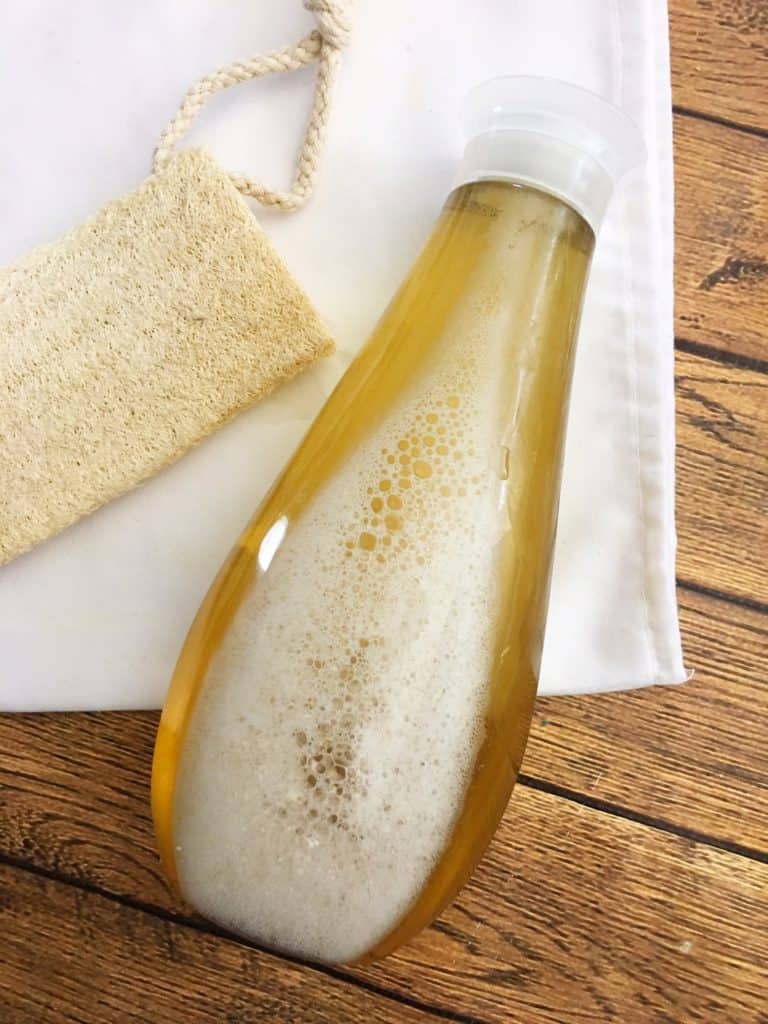
DIY Body Wash Recipe

I tend to make homemade items out of convenience. Bonus that it’s healthier! With three kids in tons of activities, you could say I’m short on time (I’m sure you can relate). So when I’m running low on something, I don’t always have the time (or desire) to run to the store to get the replacement items immediately. It just becomes easier to make my own version of a staple, and this recipe is one of those recipes to measure and mix quickly!

DIY Body Wash Ingredients

  • 1 cup, Water
  • 1 cup, Dr. Bronners Castile Liquid Soap
  • 3 TBS, Fractionated Coconut Oil (the solid would work too if melted)
  • 5 drops, Essential Oil
  • Bottle or Mason Jar (for storage)

DIY Body Wash Directions

  1. Combine all ingredients in bottle.
  2. Shake well before each use.
  3. Apply to wet skin, rinse off.

This cleans extremely well and you can play around with the scents if you have different essential oils at home. I also love the blend, Stress Away. It’s a great scent to start your day off on a positive note – HA!

wooden measuring spoons long handles utensi

Use our long handle measuring spoons to measure this recipe.

Filed Under: Recipes Tagged With: Personal Care Recipes

Banana Pops

August 29, 2016 By Andrea @ utensi 2 Comments

Banana Pops Recipe

What can I say about these Banana Pops? The are amazing and you have to make them! Seriously, so so good!

If you buy these in the store they are expensive compared to making yourself. Plus, it always seems they have peanuts and our boys are allergic to nuts so they can never have them. Making them yourself allows you to get creative and add sprinkles and candies instead. But, the nuts are pretty good so they are included for your tasting pleasure!

Banana Pops Ingredients

  • 10 oz Bag, Ghirardelli Dark Chocolate Melting Candy
  • 6 large Bananas
  • 1/4 cup, Sprinkles
  • 1/4 cup, Pecans (crushed)
  • 1/4 cup, Sweetened Coconut Flakes
  • Popsicle Sticks
  • Parchment Paper

Banana Pops Directions

  1. Open and slice your bananas in half and place in the freezer for about 2 hours.
  2. In a small bowl, melt one cup of your dark chocolate melts at a time in the microwave on 50% power for 2-3 minutes, stirring every 30 seconds until melted.
  3. Place a Popsicle stick into the bottom of each sliced bananas.
  4. Hold your banana pop by the Popsicle stick and place it into your melted chocolate, use a spoon to cover the banana with chocolate then set on a piece of parchment paper.
  5. Top off with either sprinkles, pecans, or coconut flakes.
  6. Place in the freezer for about 5 minutes till the chocolate is hardened.

If you want to skip the popsicle sticks, cut your bananas into slices instead. Dip the slices in chocolate and decorate with goodies before freezing. Store these in the freezer in a freezer-safe container if they even last past the first freeze. 😀

Don’t forget to Pin this on Pinterest for later!

wooden measuring spoons long handles utensi

Use our long handle measuring spoons to sprinkle and stir.

Looking for quick and easy treat? Try these Banana Pops! Everyone will love 'em!

Filed Under: Recipes Tagged With: Dessert Recipes

Homemade Graham Crackers

August 22, 2016 By Andrea @ utensi Leave a Comment

Homemade Graham Crackers Recipe

Our kids started back to school recently which means treats need to be ready for after-school snacks and packing lunches. These are so easy to make, much cheaper than store-bought and just plain fun! You can use any type of cookie cutter or just make plain square graham crackers. Grab your utensi measuring spoons and get to measuring!

Homemade Graham Crackers Ingredients

  • 2 cups, All Purpose Flour
  • 1/2 cup, Whole Wheat Flour
  • 2/3 cup, Brown Sugar (packed)
  • 3 TBS, Wheat Germ (usually with the oatmeal in the grocery store)
  • 1 tsp, Baking Soda
  • 1/2 tsp, Salt
  • 1/2 tsp, Cinnamon
  • 1/2 cup, Butter (cold)
  • 1/4 cup, Honey
  • 2 TBS, Milk
  • 1 tsp, Vanilla

Homemade Graham Crackers Directions

  1. Heat oven to 350.
  2. In a food processor, add: white flour, wheat flour, brown sugar, wheat germ, baking soda, salt, and cinnamon. Process for about 30 seconds until mixed together well.
  3. Cut cold butter into cubes and add to food processor. Process for less than a minute, until fine crumbs form and the butter is combined well.
  4. Add honey, milk and vanilla. Cover and process for about a minute until the mixture starts to hold together.
  5. Add additional milk, (one tablespoon at a time) if necessary to create a smooth dough. The dough will be dry, not moist, so be careful not to add too much milk.
  6. Remove from processor and knead with hands to combine and create dough.
  7. On a clean, floured work surface, roll dough 1/8″ thick with a rolling pin. Use cookie cutters to cut shapes into your dough or use a knife to cut squares or sticks. Place on an ungreased cookie sheet about 1″ apart.
  8. Bake 8 minutes or until lightly browned.
  9. Cool on a wire rack.

If you do use a cookie cutter, you will want a smaller one to make around 1″ to 1-1/2″ shapes. That size makes it portable for lunches and great for snacking!

wooden measuring spoons long handles utensi

Use our long handle measuring spoons to measure and stir this recipe.

Filed Under: Recipes Tagged With: Dessert Recipes, School Lunch Ideas

3-Ingredient Berry Whip

August 15, 2016 By Andrea @ utensi Leave a Comment

Berry Dole Whip Recipe

You seriously need to make this, it is so good and super easy! Also, try this in a pineapple version too. It reminds me of the Dole Whip at Disney World, or the Dole Plantation in Hawaii (which we’ve been lucky enough to visit).

Berry Whip Ingredients

  • 2 cups, Strawberries (cut into chunks)
  • 6 oz, Raspberries
  • 3/4 cups, Sugar or Honey (more or less to taste)
  • 1/4 cups, Water
  • Gallon Freezer Bag

Berry Whip Directions

  1. Place the strawberry chunks and raspberries into your food processor.
  2. Pour the sugar or honey on top of the fruit and add a few tablespoons of water.
  3. Pulse the mixture until smooth, adding water as needed.
  4. Once the mixture is smooth, pour back into the freezer bag.
  5. Snip a corner of the bag with the scissors and squeeze out of the bag into a bag and enjoy!

Let me know if you try this recipe (you can leave a comment below). You can substitute honey for the sugar if you want a less refined sweetener. I’ve also added coconut milk in place of the water to make it more tropical. I’m also thinking a mango version would be delicious too!

wooden measuring spoons long handles utensi

Use our long handle measuring spoons to measure and stir this recipe.

Filed Under: Recipes Tagged With: Dessert Recipes

Strawberry & Pineapple Summer Daiquiri

August 8, 2016 By Andrea @ utensi Leave a Comment

Strawberry Pineapple Summer Daiquiri Recipe

Summer, summer, summertime! It’s almost over. 🙁 But that doesn’t mean you have to accept it! Have one last hoorah before the kids go back to school and make this tasty virgin daiquiri. If you want to spice it up for the adults, add a little rum or vodka.

Strawberry & Pineapple Summer Daiquiri Ingredients

  • 1 oz, Sprite
  • 2 oz, Dole 100% Pineapple Juice
  • 4 oz, Welch’s Sparkling Strawberry Daiquiri
  • Sprig, Fresh Mint

Strawberry & Pineapple Summer Daiquiri Directions

  1. Add the Sprite, Pineapple Juice, and Sparkling Strawberry Daiquiri to a cocktail shaker.
  2. Secure lid and shake for 30 seconds.
  3. Strain into a Mojito-style glass filled with crushed ice.
  4. Top off with a little more pineapple juice (if necessary).
  5. Add a fresh sprig of mint.
  6. Serve.

You can also pour everything into a tall glass if you don’t have a cocktail shaker. If using a glass, just stir well with a spoon – maybe a long handle measuring spoon. 🙂

wooden measuring spoons long handles utensi

Use our long handle measuring spoons to stir this recipe.

Filed Under: Recipes Tagged With: Beverage Recipes

Homemade No Churn Ice Cream

August 1, 2016 By Andrea @ utensi Leave a Comment

Homemade No Churn Blackberry Ice Cream Recipe

The *season* of summer isn’t winding down, but since our kids go back to school very soon it seems like it is coming to a fast end. It’s bittersweet as this year our oldest son will be a senior. I just can’t believe that. It truly does go by fast!

Anyway, this is the perfect summer treat to cool off and enjoy those seasonal summer berries. You can use this same recipe and substitute the berries for any other fruit. Banana is AMAZING! Add 1/4 tsp of cinnamon and you will not regret it!

No Churn Ice Cream Ingredients

  • 2 cups, Heavy Whipping Cream
  • 14 oz, Sweetened Condensed Milk
  • 6 oz, Fresh Blackberries (or other fruit/flavor)
  • 1 tsp, Vanilla Extract

No Churn Ice Cream Directions

  1. Puree about half the blackberries in blender.
  2. Add condensed milk and pulse until blended.
  3. In a large bowl, whisk, heavy cream and vanilla on high speed until soft peaks form.
  4. Fold in blackberry mixture and remaining blackberries.
  5. Spread this mixture into a loaf pan.
  6. Cover with foil and freeze for 6 hours or until firm.

Play around and make your own flavor combinations with this recipe. Be sure to come back and share your faves with me!


wooden measuring spoons long handles utensi

Use our long handle measuring spoons to measure and stir this recipe.

Filed Under: Recipes Tagged With: Dessert Recipes, Ice Cream Recipes

Homemade Shower Melts Recipe

July 26, 2016 By Andrea @ utensi 99 Comments

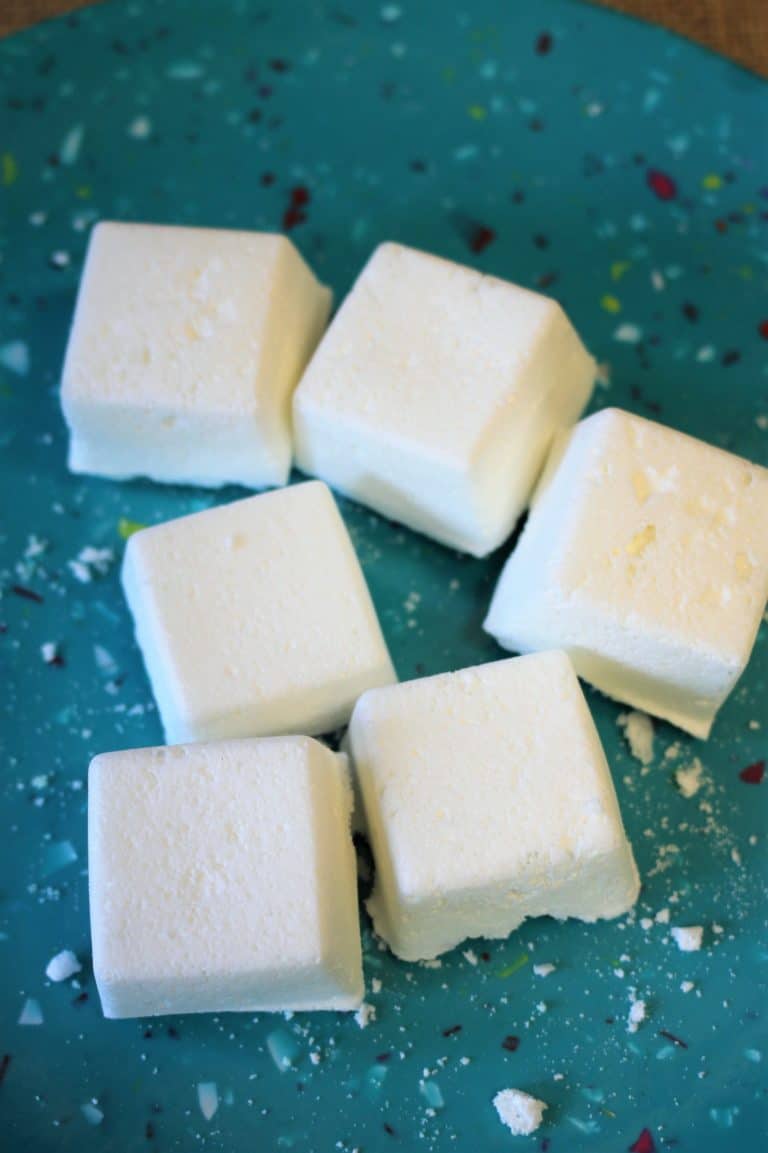
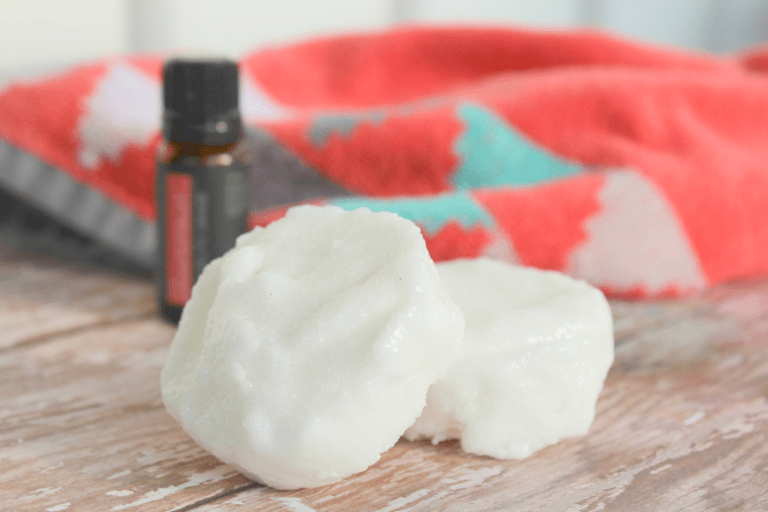
This shower melts recipe is an easy DIY using simple ingredients at home. If you are curious how to use essential oils in the shower this shower melts DIY is a great recipe to try!

I never truly appreciated the garden tub in our bathroom until we didn’t have it anymore. We did a bathroom renovation and opted to replace the tub with a big shower instead. Well, it wasn’t long before I regretted that decision!

We have since moved and have a garden tub again. Of course, now I can’t find much time to enjoy a relaxing bath! So, these shower melts will be a great substitute for when I’m short on time but really want to relax. As an added bonus, they are inexpensive to make too!

Lavender Shower Melts Ingredients

  • 1 cup, Corn Starch
  • 2 TBS, Water
  • 5-7 drops, Lavender Essential Oil
  • Our Favorite Measuring Spoons
  • Ice Cube Tray (mini works best)

Use our favorite long handle measuring spoons (and on Amazon) to measure and stir the ingredients together without much mess!

Lavender Shower Melts Directions

  1. Place the lavender essential oil and corn starch in a bowl. Mix well. The mixture will look like a crumbly powder.
  2. Add in a few drop of both blue and red food coloring (optional) and continue to mix well. You may not notice a great deal of coloring until you do step 3 below.
  3. Add in the two tablespoons of water. Continue to mix to the colors disperse and clumps begin to form. Please note that this amount of water will NOT be enough to make the paste you are after. It is however a starting point so you can carefully ration water in and form your paste.
  4. Continue adding a few drops of water at a time, mixing well as you do. Once you have a thick paste, transfer the mixture to your mini ice cube tray. Smooth the mixture out flat.
  5. Freeze the contents for 1 hour or until the mixture is set.

To use your lavender essential oil shower melts, place the melt on the floor of the shower and turn the water on. Enjoy the shower as you usually would, yet as the water and steam hits the melt it will break down and diffuse the aroma of the oil into the air.

As long as you didn’t overdo the mixture with water, you do not need to leave the melts frozen. You can place them in a jar and store them in a cool and dry place. If your cubes seem like they are runny, opt to store them in the freezer instead.

Don’t forget to Pin this on Pinterest to save it!

Use our long handle measuring spoons (and on Amazon) to measure and stir this recipe.

This shower melts recipe is an easy DIY using simple ingredients at home. If you are curious how to use essential oils in the shower this shower melts DIY is a great recipe to try!

This Homemade Shower Melts Recipe is another one we love!The best shower melts recipe that is similar to a shower soothers DIY. This shower steamers recipe is great if you are curious how to use essential oils in the shower!

Filed Under: Recipes Tagged With: Beauty Recipes

Raspberry Limeade Pops

July 18, 2016 By Andrea @ utensi Leave a Comment

homeade raspbery limeade popsicle recipe

The dog days of summer are in full swing here. Our boys went to the grocery with me and mentioned we hadn’t purchased any popsicles lately. I told them we would get the ingredients to make this recipe instead and they were game!

Raspberry Limeade Popsicle Ingredients

  • 1 can (12 oz), Frozen Limeade Concentrate (thawed)
  • 3 1/2 cans, Water (cold)
    1 cup, Raspberries
  • 1 Lime
  • Popsicle Molds or Paper Cups
  • Craft Sticks

Raspberry Limeade Popsicle Directions

  1. Mix together your limeade concentrate with the 3 1/2 cans of cold water.
  2. Slice your limes into small triangles.
  3. Place about 5 mashed raspberries (or more) and 4 lime triangles into each cup.
  4. Fill your cups up with limeade.
  5. Place a craft stick into your mold (you might need to rearrange the stick after the pop begins to freeze).
  6. Freeze for about 5-6 hours or overnight.
  7. Place the rest of your raspberries and limes into your limeade and mash them to get the flavor out, place in a pitcher to drink because you will have lots of leftover limeade!

Of course, you can use your set of utensi measuring spoons to stir and mash everything together. Those long handles come in handy for more than measuring!

Get a set of long handle wooden measuring spoons!

Filed Under: Recipes Tagged With: Dessert Recipes, Popsicle Recipes

  • « Previous Page
  • 1
  • …
  • 3
  • 4
  • 5

Get Social


Facebook
Instagram
Pinterest
Twitter

Sign Up for Our Newsletter

Get Exclusive Promotions!

Copyright © 2022, utensi ™ | [email protected]