
CRAFTS
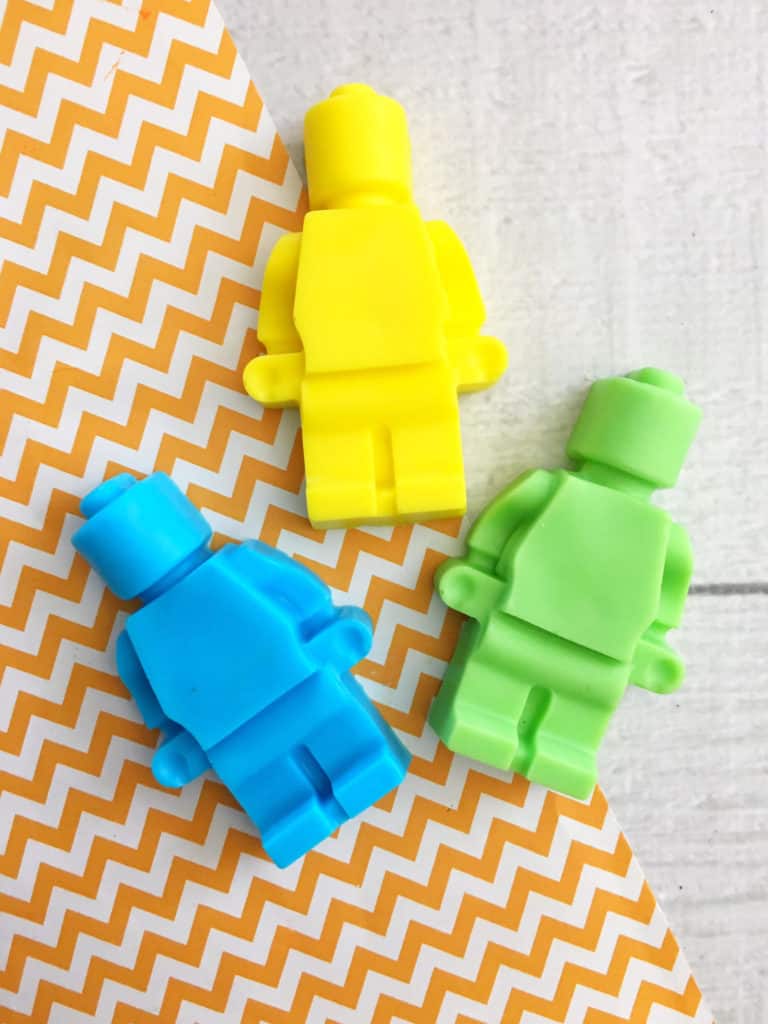
Pour and Melt LEGO Soaps
I'm pretty sure most parents will agree that these Legos are the best kind of Legos you can have! No fear of LEGO foot injuries, or at least if it happens it won't hurt near as bad! You can easily whip up a batch of these with the kids. Or,…
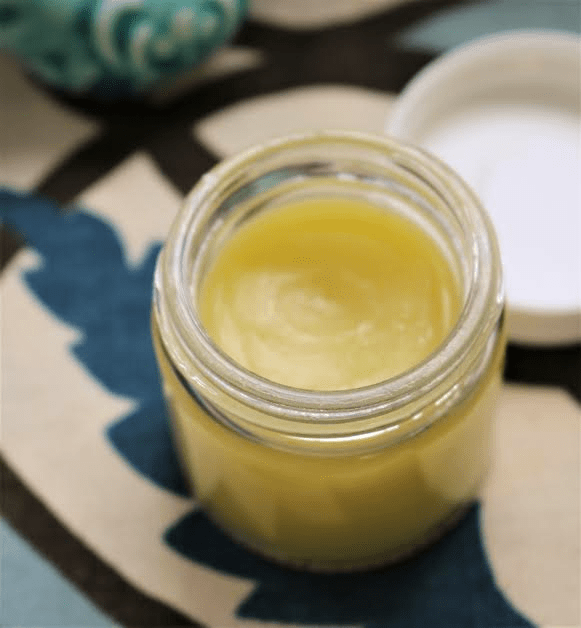
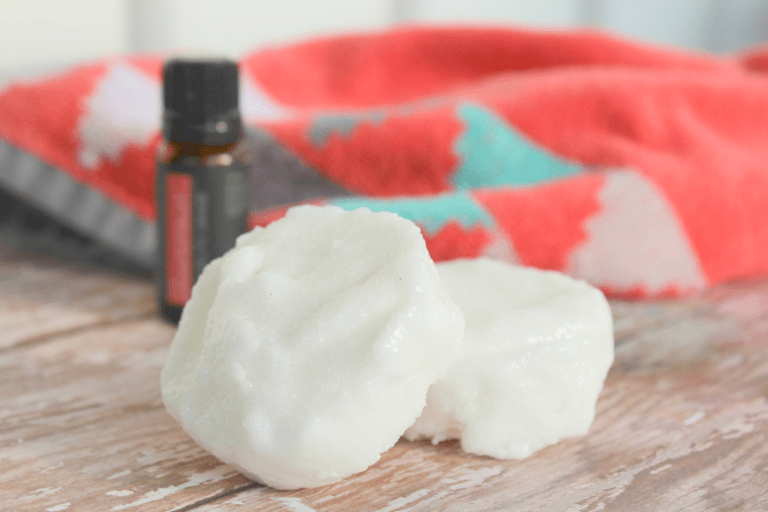
Homemade All-Purpose Healing Salve
As much as possible I try to utilize natural ingredients for ailments for our family. You will find several recipes we share include essential oils because they are easily accessible and one of my favorite ways to incorporate natural ingredients! In fact, you probably have many of the ingredients to make…
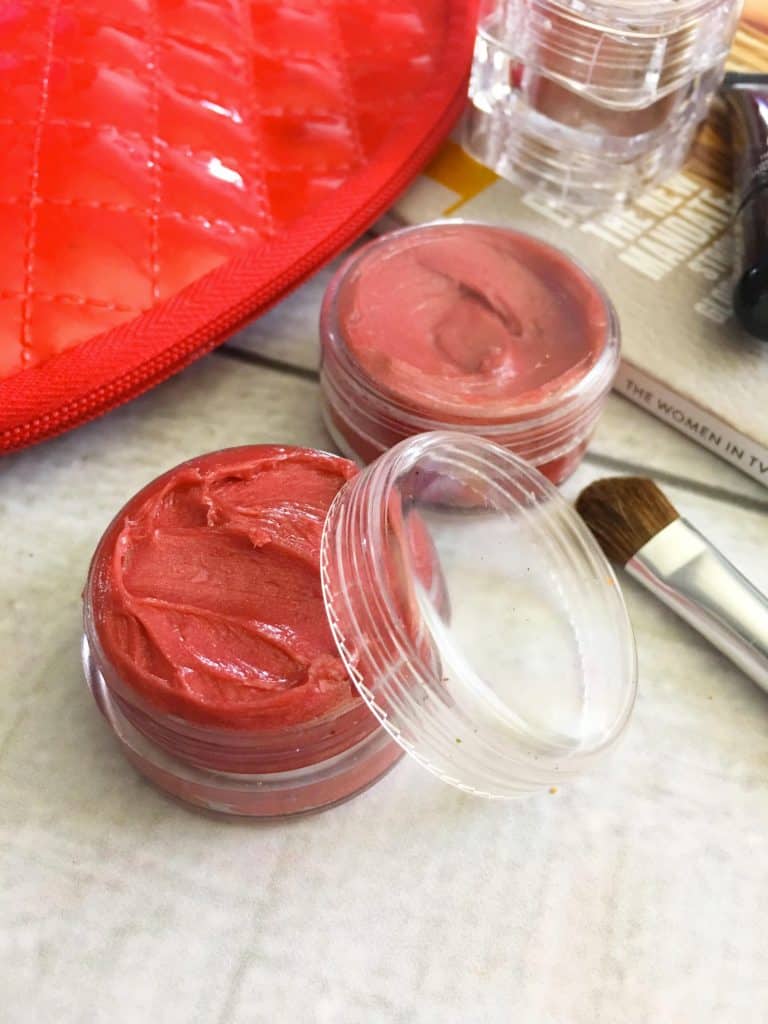
Mica Powder Lip Stain
This is literally a 3-minute DIY! If you have leftover Mica Powder from the Mica Powder Soap recipe, you won't have to spend a dime to make this one! Mica Powder Lip Stain Ingredients Vaseline (or any Petroleum Jelly) Cosmetic Grade Mica Powder (found here) (we used Scarlet Sparkle) .15 cc Scoop (found here) **…
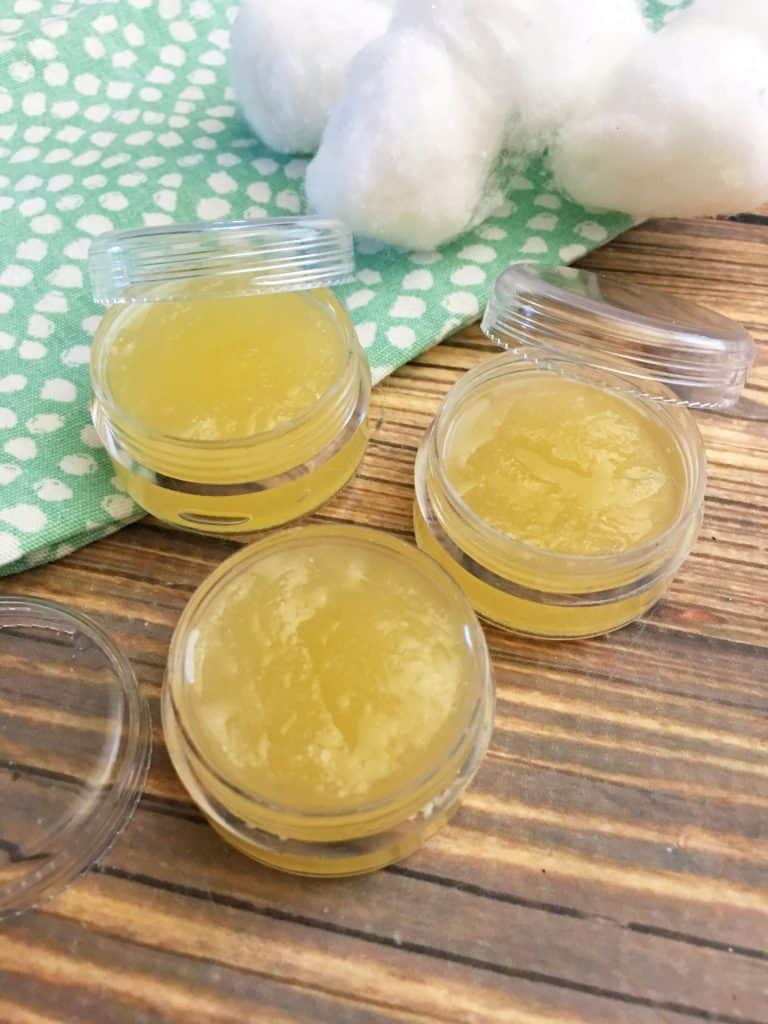
3-ingredient Lip Scrub
Confession time! I used to purchase lip scrub for around $20. When I started to look at the ingredients in the product, I realized that I was throwing money away! Also, in my attempt to be more aware of the ingredients in the products I'm using, I knew the $20…
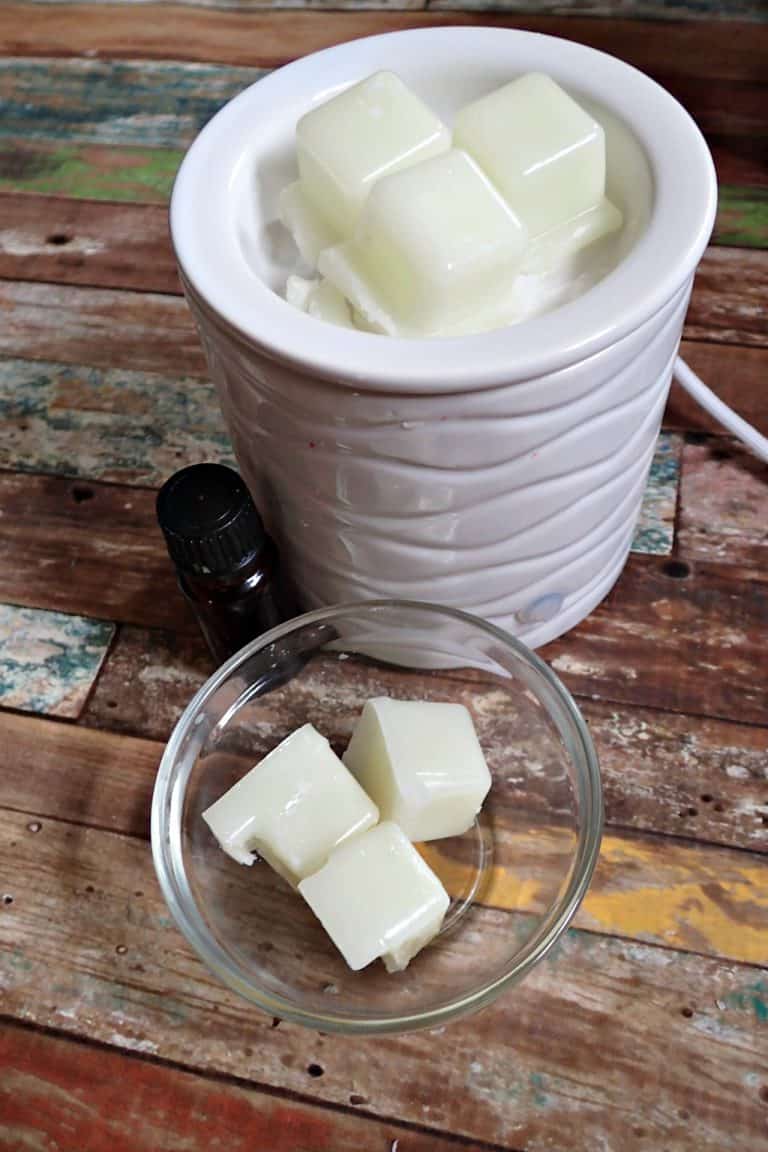
DIY Wax Warmer Cubes
I purchased a few wax warmers years ago and immediately loved that you can leave them without worrying about fires. The scents were becoming a bit strong for me and the cost of the refills started to add up. This recipe allows you to save money by making many more for your dollar….
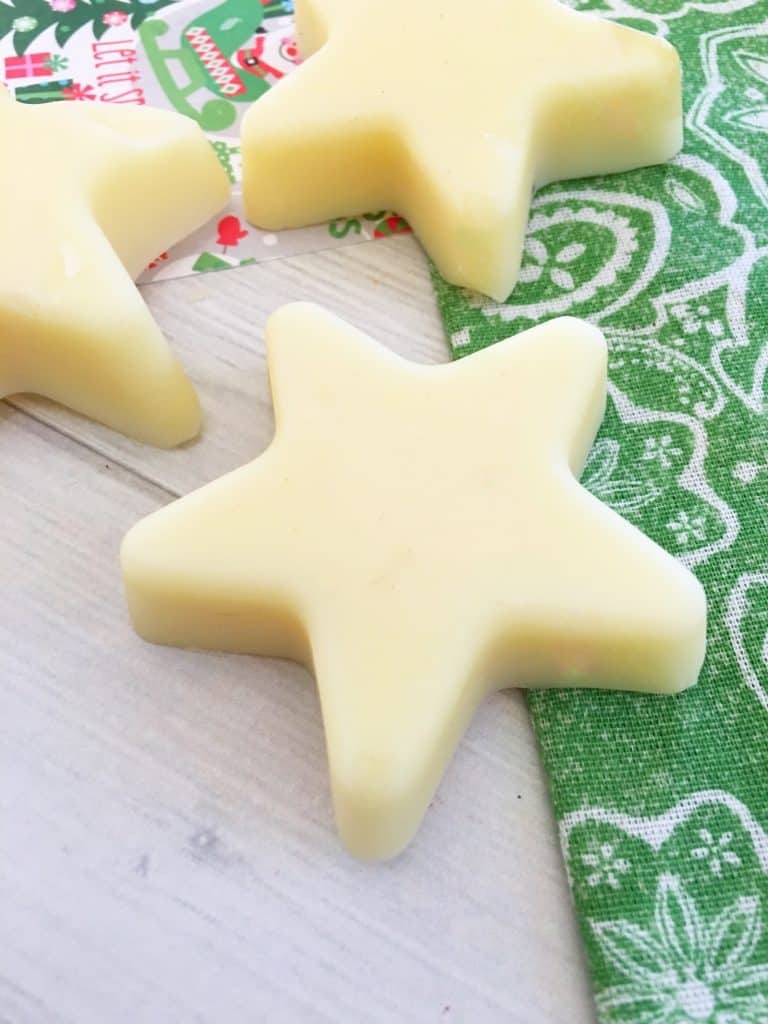
Make Your Own Lotion Bars
Another Lush copycat that you will love! Once you have the ingredients from the Rainbow Soap or Grapefruit and Lime Lip Balm recipes, you can reuse them with this one! These homemade lotion bars are easy to make and perfect DIY gifts! You can grab a star silicone mold or just use any…
RECIPES
Bath Bomb Recipe – Cheerful Citrus Fizzy Bath Bombs
DIY bath bombs can be a big hit for a fun DIY project with your kids or friends. Most people enjoy using the fun little fizzers in their baths. But, they can be expensive if you buy them at a specialty bath store or online. Many of the store-bought bath…
How to Make Soap – Fresh Woods Shea Butter
I used to think the soap making process was really complicated. It wasn't until someone gave me some soap base as a gift that I even attempted making my own. If you use a good base, and just add a few ingredients, you can make soap at home easily! I…
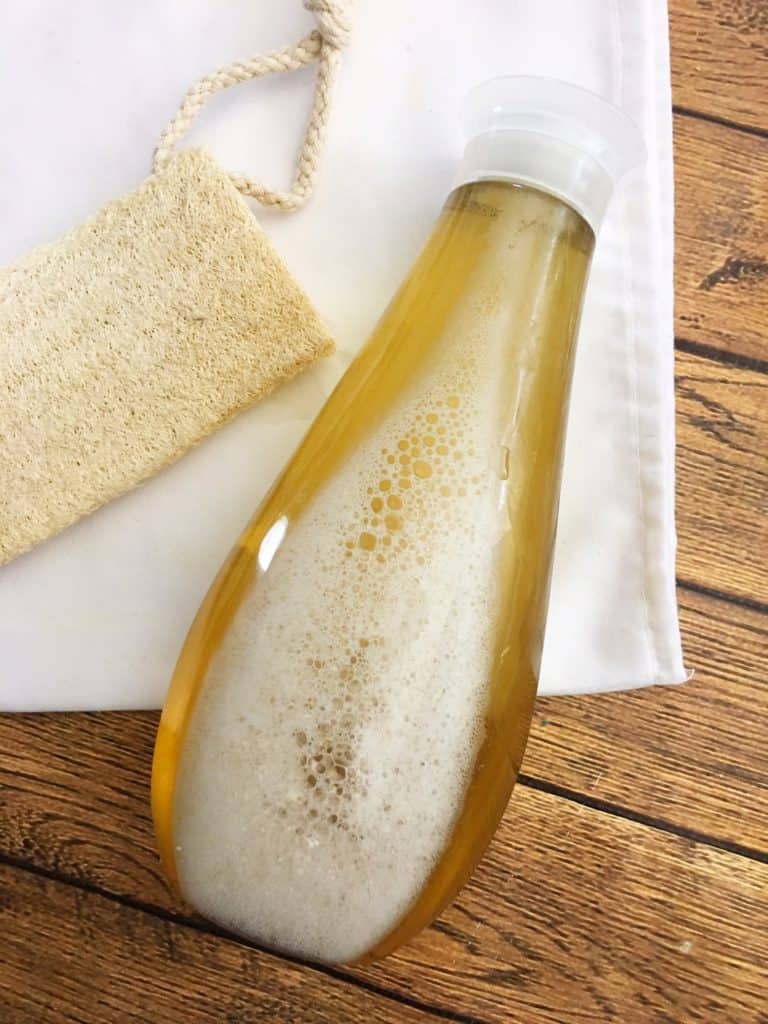
How to Make Bubble Bath
Homemade Bubble Bath is one of those things that we always need to have a supply of in our home. Our boys will get in the tub and go crazy town with the bubbles! They love them some bubble baths. What can I say? I've raised them up the way…
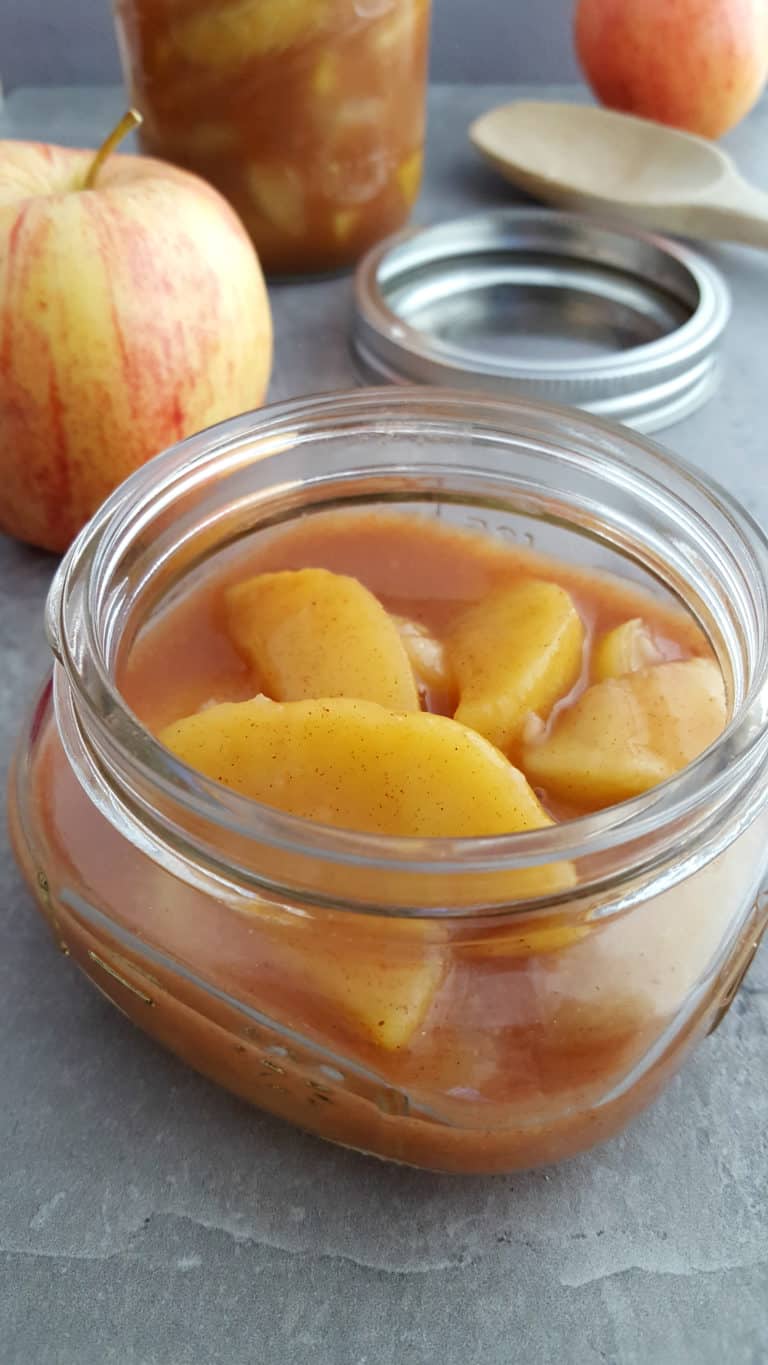
Homemade Apple Pie Filling Recipe
There is something about a homemade Apple Pie. The crust, the filling, the love and energy that has gone into it. All of those things combined just makes it taste that much better! This Apple Pie filling recipe won't disappoint either! While it will take time to prepare, you can…
Homemade Toilet Bowl Cleaning Discs
I have been teaching our youngest son how to clean the toilet bowl. It's quite hilarious, actually. They get so grossed out by it and I remind them that is how I feel when I clean *their* bathroom! I'm so glad they can do this job on their own. Our…
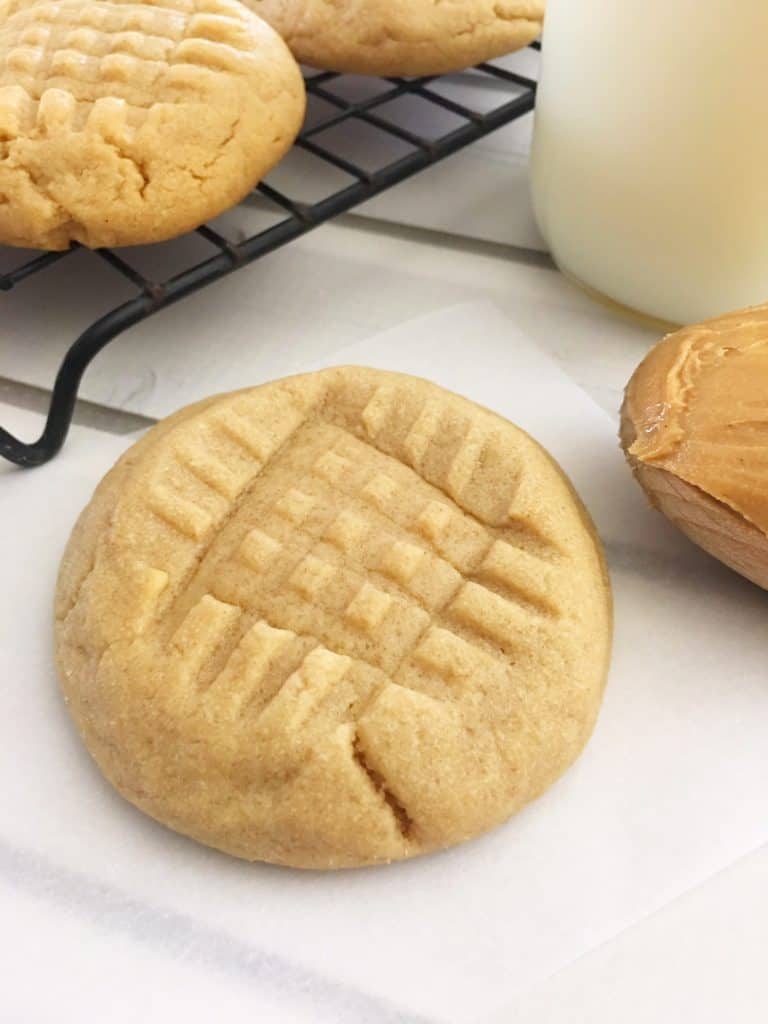
Easy Peanut Butter Cookies
Looking for the best Peanut Butter cookies recipe? Look no further! These Peanut Butter cookies are a classic! They are made with simple ingredients. I almost always have everything to make a batch in my pantry. Usually when I'm missing an ingredient it's actually the sugar. We just don't add…